


Mastering Natural and Smooth Shading Transitions in Tattooing
Creating seamless, natural shading transitions is one of the most challenging aspects of tattooing, especially for artists still developing their technical foundation. Whether you're a beginner struggling with patchy gradients or an intermediate artist looking to refine your shading work, the difference between amateur and professional results often lies in the quality of these tattoo shading gradients. This comprehensive guide reveals the key technique that will transform your shading work from patchy to flawless.
The Secret: The Half-Saturated Buffer Zone
The cornerstone of achieving smooth tattoo shading transitions is a single crucial technique: creating a half-saturated buffer zone. This intermediate area acts as a bridge between your darkest and lightest values, allowing colors to blend seamlessly rather than creating harsh lines.
Step-by-Step Technique
Start with Your Darkest Values: Whip Shading
Always begin your shading work from the area that requires the deepest, most saturated black. This is your anchor point. Using the whip shading technique with the Heavy-In, Light-Out principle, work from the darkest area outward. This tattoo whip shading motion naturally pushes the pigment from dark to light, creating the foundation of your gradient.
Here's how it works using the whip shading technique: Apply firm pressure and deeper needle penetration at the start of each pass, then gradually lighten your touch as you move toward the transition area, lifting the machine away from the skin in a smooth whipping motion. This whip shading method—where you start heavy and finish light while simultaneously pulling away—naturally pushes the pigment from dark to light, creating the foundation of your gradient. The key is the fluid motion: press in firmly at the dark anchor point, then progressively reduce pressure and needle depth as you “whip” outward, allowing the needle to barely kiss the skin at the end of each stroke.
Control Depth and Density—Not Just Ink
This is critical: Don't rush to switch to lighter ink. Many beginners make the mistake of changing ink dilution too quickly. Instead, achieve your initial fade by manipulating two key variables:
- Needle penetration depth: Gradually reduce how deep the needle enters the skin as you move toward lighter areas
- Dot density: Space your needle points further apart as you transition from dark to light
By controlling these two factors while keeping the same ink, you'll create a natural fade that prepares the canvas for your next step.
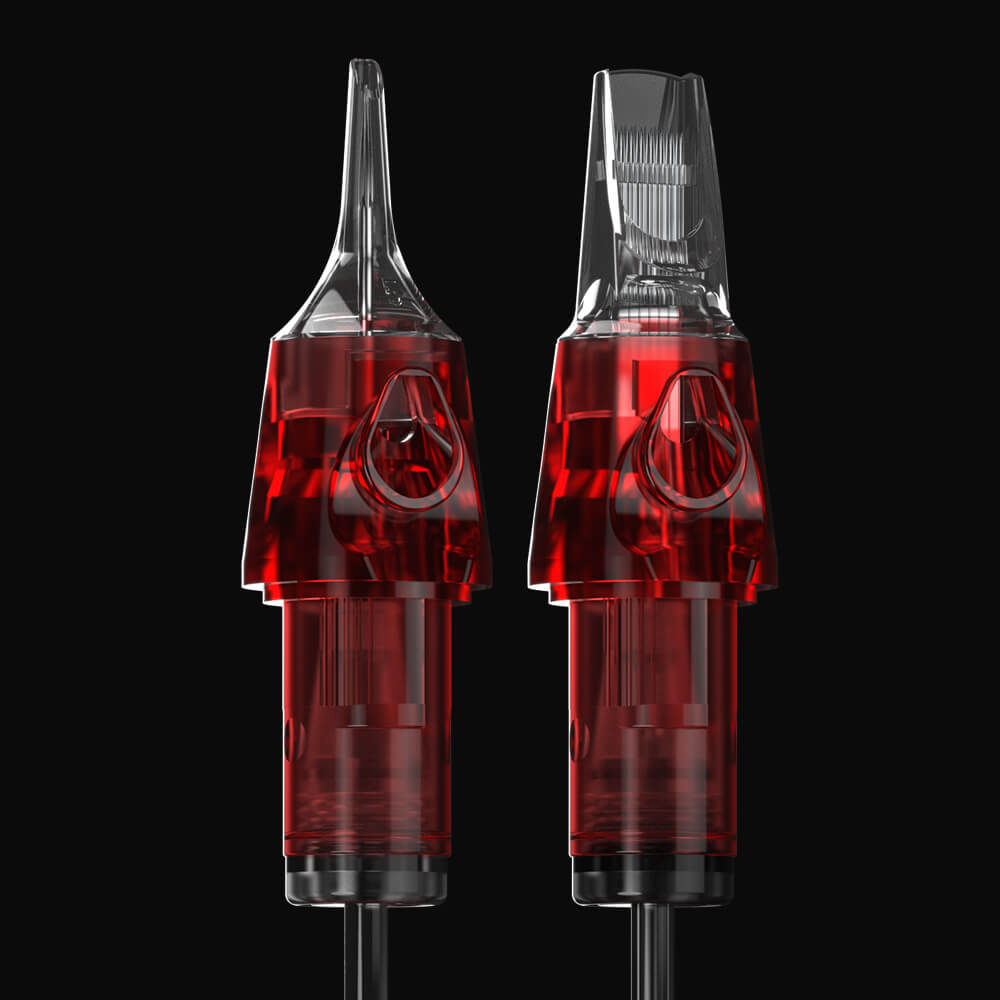
The precision of your needle configuration plays a significant role here—CNC Police tattoo cartridges remain exceptionally stable during operation without wobbling or needle shake, allowing you to confidently control depth and density. When you adjust your hand pressure, the needles deliver uniform, predictable responses, making it easier to execute those crucial graduated transitions.
Create the Buffer Zone
As you work outward from your darkest area using the whip shading technique, you'll naturally create a region of half-saturated coverage. This is your buffer zone—don't fill it completely. Leave this area deliberately under-saturated. This intermediate zone is where the magic happens.
Think of the buffer zone as a “landing pad” for your lighter values. Its purpose is to provide a receptive surface where different ink dilutions can meet and blend without creating harsh boundaries. The ideal buffer zone should have visible gaps between your needle marks rather than solid saturation. You should be able to see individual dots and strokes rather than a completely filled area—this open texture is what allows lighter values to weave in naturally.
A common mistake is over-working this area out of nervousness. Resist the urge to “fix” the buffer zone by adding more passes. If you fill it too densely now, you'll eliminate the space needed for lighter values to integrate smoothly later. Trust the under-saturation—it's intentional and essential for seamless transitions.
Transition to Lighter Ink with Pendulum Shading
Now—and only now—should you switch to a lighter dilution of ink. This is where you employ the pendulum shading technique, which follows the light-in, light-out principle. Move your machine in a smooth back-and-forth swinging motion, like a pendulum arc, as you work into the buffer zone you've created.
The key to this technique is that less ink is deposited at the beginning and end of each arc (creating lighter tones), while more ink is deposited at the bottom of the arc (creating deeper tones). Apply minimal pressure and shallow needle penetration throughout, allowing the lighter ink to gently overlap with the darker edges. This rhythmic swinging motion creates gradual tonal layering, naturally blending the light and dark values together.
Machine stability is crucial during pendulum shading—any vibration or inconsistent needle movement can disrupt the delicate rhythm you're trying to establish.
The CNC Kronos Wireless Tattoo Machine excels here with its smooth, low-vibration motor that maintains steady performance throughout your shading session, allowing you to focus entirely on your hand movement and pressure control rather than compensating for equipment instability.
The Weaving Technique
Think of this stage like knitting a sweater—your light and dark needle marks should interweave and blend together rather than sitting in distinct layers. The dots from your darker pass and lighter pass should intermingle, creating a seamless transition where it's impossible to tell where one ends and the other begins.
When executed correctly, the transition becomes silky smooth. Repeat this process through progressively lighter values, and you'll build a flawless shading gradient.
Finishing the Lightest Values with Pull Whip Shading
For the lightest areas of your shading—where the gradient fades into the skin—switch to the pull whip shading technique. Unlike the traditional push whip method used for darker values, pull whip shading involves pulling the machine toward you.
In these final, lightest tones, use minimal pressure and shallow penetration to create the softest, most delicate finish, allowing the gradient to fade out naturally without harsh edges. The pulling motion gives you better control over these subtle, finishing touches where precision is critical.
When executed correctly, the transition becomes silky smooth. Repeat this process through progressively lighter values, and you'll build a flawless shading gradient.
The wireless design of the CNC Kronos becomes particularly valuable during these finishing touches. Without a cord pulling or creating resistance, you have unrestricted freedom to execute those delicate pull whip motions at any angle, maintaining perfect control as you feather out the lightest values. The adjustable stroke length also allows you to fine-tune the machine's power specifically for these soft, final passes—dialing it down to barely whisper against the skin for those fadeout areas that require the gentlest touch.
Common Mistakes and Solutions
Problem: Getting Stuck at the Edges
If you consistently struggle with creating smooth edges, the culprit is likely over-saturation at your color block boundaries. When the edge of your shading is too heavily saturated, you've essentially created a wall that blocks smooth transition. The pigment density is so high that there's nowhere for lighter values to blend in naturally.
Solution: Always leave your edges slightly under-saturated. Create that buffer zone before attempting to transition to the next value.
Problem: Visible Bands or Stripes
Harsh bands in your shading occur when the concentration jump between ink dilutions is too large. If you go from solid black directly to a 50% gray, you'll create a visible line.
Solution: Use smaller incremental steps between ink dilutions. Add more intermediate values to your gradient.
Problem: Horizontal or Vertical Needle Marks in Transitions
If you notice horizontal needle marks appearing in your transition areas, your hand speed is too fast. Conversely, if vertical needle marks are visible, your hand speed is too slow.
Solution: Adjust your hand movement speed accordingly. Find the optimal speed where needle marks blend seamlessly without creating directional patterns. This balance between hand speed and machine cycle is crucial for smooth transitions.
The Three-Part Formula
Mastering these tattoo shading techniques comes down to the coordinated manipulation of three elements working in concert:
- Needle penetration depth
- Dot density and spacing
- Ink concentration
Remove any one of these variables, and your transitions will fall apart. Master all three, and you'll create shading that looks effortless and natural.
Practice Makes Perfect
This technique requires muscle memory and a developed sense of pressure control. Practice on artificial skin or practice pads, focusing on creating smooth gradients using this buffer zone method. Pay attention to how different pressure levels, needle depths, and dot spacing affect the final result.
Start with simple geometric shapes—circles or squares—and practice creating radial or linear gradients. Once you can consistently produce smooth transitions in these basic forms, you'll be ready to tackle complex shading in actual tattoo designs.
Final Thoughts
The half-saturated buffer zone technique might seem simple in concept, but it requires patience and practice to execute flawlessly. The key is resisting the urge to over-work the buffer zone—leave it under-saturated, trust the gaps, and don't try to fill it completely. Trust the process: build your darks, create your buffer zone with deliberate under-saturation, then gently weave in your lights.
With this foundational technique mastered—and reliable equipment like the CNC Kronos Wireless Tattoo Machine and CNC Police tattoo cartridges supporting your workflow—you'll find that creating natural, professional-looking shading becomes significantly easier, elevating the overall quality of your tattoo work to a new level.

