


The TOP 5 mistakes Tattoo beginners Made
Does your tattoo shade look red angry and patchy ?Well, today i’m going to be covering five of the top reasons of why this happens, in this article i’m gonna be covering the five common mistakes made which when you guys try to tattoo black and gray. You can’t understand why the skin is going red and patchy and angry looking, more importantly, I’m gonna be showing you how to fix these five common mistakes.
Table of Contents
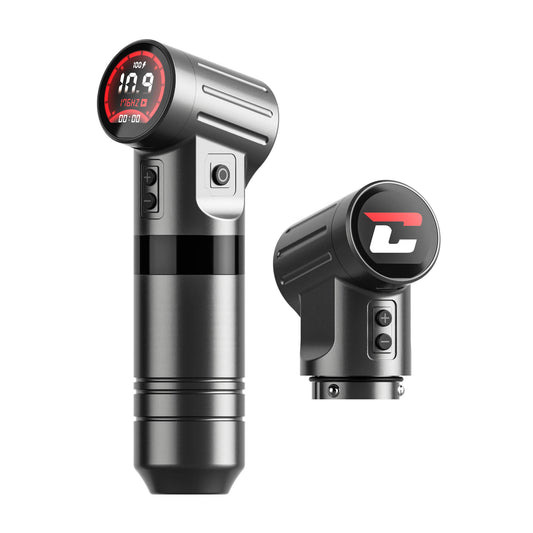
Reason 1: The machine running speed doesn't match your hand speed
The first mistake self-explanatory- The tattoo machine runs at a speed that doesn’t match your hand speed, that means if the machine is running too fast or your hand speed too slow, the skin can be overworked in a very short space of time. In this highly exaggerated example what we’re trying to achieve is for the ink to be placed into the skin in a nice even uniform pattern it will compare this to a machine running too fast. the needles begin to make multiple punctures over the same area, trying to shade with a machine running like this will quickly begin to overwork,
To fix this we simply slow the machine down or speed up your hand speed. most shading machines are set up to make the needles hit the skin a lot softer. if your machine is set to hit hard while shading this can quickly begin to overwork the skin if you’re not too careful,so it is important to set the machine to hit softer.
Reason 2: Incorrect pressure on the skin
incorrect pressure in my opinion is one of the biggest culprits for ruining shade on tattoos and also overworking the skin,
as a noob to tattooing, i had a predetermined idea in my head as to how much pressure i should have had on the machine when landing the needles in the skin for shading.
So let’s for example say, on a scale of one to ten with one being almost not touching the skin with hardly any pressure at all, and ten being the opposite end of this scale by putting quite a lot of pressure down on the machine, pushing the needles into the skin, then in my untrained newbie mind, my expectation of the needle pressure was around about a six on this scale but this was way off the mark and based on this scale the pressure i should have been around about a two or a three, this was a huge learning curve for me in the beginning,and one that i had to constantly remind myself over and over again not to put too much pressure down on the tattoo machine.
How to find the right pressure to apply on the skin
When shading if you are unsure how much pressure to apply to the skin, it makes much more sense to start at one on the scale and gradually build from there adding slight increments of pressure until you find the optimal amount that puts shade into the skin, if you apply too much pressure, it will overwork the skin in a very short space of time and make your shade look patchy and red.
It makes much more sense to start at one on the scale and gradually build from there adding slight increments of pressure until you find the optimal amount that puts shade into the skin, if you apply too much pressure, it will overwork the skin in a very short space of time and make your shade look patchy and red.
Reason 3: The wrong choice of gray wash
So the next common reason for patchy looking shade is the wrong choice of gray wash, this is something you don’t usually hear people talk about, but it’s a massive contributor to redness of the skin now,
What i mean by wrong choice of grey wash is this grey wash whether you make your own or you buy pre-mixed, you’re most likely going to have a few different shades as opposed to just the one.
So let’s for example say, you’re going to do a black and gray tattoo and you’ve obviously got your ink cup full of black and then you’ve got three cups of gray wash, all different shades so in this example we’re going to say light medium and dark.
The best way to approach a tattoo is to match the desired shade of your reference, image with the minimal amount of passes over the skin with the needle, so let’s say you want to tattoo this dark looking shade on the design, you wouldn’t use your light grey wash on this from the palette. why? because it’s going to take far too many passes on the skin with a needle before you even get close to your desired shade which in turn means you would have probably overworked the skin before you’ve got a shade even close to looking as dark as the shade in the reference image, so in this example by choosing the dark grey wash this will allow you to reach the desired shade with much fewer passes over the skin with the needle and with fewer passes you’re much less likely to overwork the skin and therefore much less likely to make the skin red and angry looking.
So in this example by choosing the dark grey wash this will allow you to reach the desired shade with much fewer passes over the skin with the needle and with fewer passes you’re much less likely to overwork the skin and therefore much less likely to make the skin red and angry looking.
Reason 4: Tattoo technique
technique is probably the most important element to get right, the shading technique like a plane coming into land on a runway touching the runway and taking off again, and another great example simply put is a pendulum swinging from a clock. whatever analogy you use to learn this technique. The most important thing is to remember to make a constant fluid motion that doesn’t stop or change pace mid movement but maintains a nice uniform motion throughout the full movement where the needle cartridges sweep into the skin and then leave the skin whilst, maintaining a nice even speed and motion.
Reason 5: Skin stretching when you tattooing
The stretch is so important and key in achieving smooth shade. When the skin is stretched, it allows the needles to enter the skin and lay down the ink evenly spaced which when combined with all the other elements such as the machine not running too fast, correct tattoo ink selection, correct pressure, correct technique helps to create nice looking even blends contrary to this if the skin is unstretched, the needles can actually bounce off the skin at random intervals which in turn creates patchy weak looking shade so coming up in this next section guys, it’s the part that you’ve all been waiting for.
How to fix tattoo mistakes
Build up the tattoo layers
What you do with shading is you’re aiming to build up the layers, you’re never going to hit the shade that you need in one pass with the needle, so what i do is build on the layers so this is an example of some really light soft shade and then i’m gradually going to darken the shade up as we go along,
So i think the best way to explain it and to visualize it is just to go through different levels of shade, starting with a really light shade and then gradually build into a really dark one, just wipe that off there and you can see no redness, just nice soft shade building up.
So basically all you’re doing is instead of you pushing the needles forward, you’re sweeping them backwards
In Conclusion
Shading is a professional tattoo skill and art of tattooing that needs to be mastered through knowledge and practical experience.
After you have absorbed the basic techniques, avoid the 5 tattoo mistakes I mentioned above, and keep practicing, you will be close to being a great professional!