How to Tune Coil Tattoo Machine
Coil Tattoo Machine adjusting is one of the most vital things you will certainly need to know about coil tattoo devices themselves. I can’t tell you the number of times I have heard someone say, “I do not need to understand just how to tune a machine. I simply use it out of the box and it’s fine.” This kills me. If you are posting likely to operate any kind of tool you need to understand just how to do so appropriately.
Why You Should Tune Your Tattoo Machine?
If you’re a skillful tattoo artist, tuning your tattoo machine ought to permit you to operate it smoothly without any problems. If your device is adjusted, you should produce smooth outlines for tattoos. If you specialize in creating straight lines, it’s crucial to tune it to avoid undesirable swerves and curves.
Basic Knowledge Of Key Parts of Coil Tattoo Machine
Each tattoo machine comes equipped with many components that allow proper machine performance if cared for properly. Regardless of whether you own a coil or a rotary tattoo machine, you’ll need to understand all parts of your tattoo machine for a more convenient tuning session.

Machine Coils
Coils act as the pathway for powering a tattoo machine, along with capacitors. The strength and speed of your device’s needle rely heavily on the qualities of its coils.
Generally, if you have more wire layers wrapped around your coils, your machine will perform slower and have more power. If you have fewer wire layers for your coils, the device will run faster and have less energy when used.

Front and Back Springs
The front spring’s job is to act as the means of converting the coils into an electromagnet. It also acts as a shock absorber for the armature bar when using a tattoo machine. Depending on the model, the size of these springs may vary.
The back spring adds tension to the front spring to create an electromagnetic movement that lets the back spring produce movement in the tattoo machine’s needles and balances it to keep a consistent and safe stroke.

Contact Screw
The contact screw allows electromagnetic currents to run through the device and into the machine’s front spring. When continuously used, it keeps the performance flow consistent, depending on the machine’s quality.
Depending on how tight you maintain the contact screw, you can increase your tattoo machine’s speed.

Armature Bar
The armature bar lets you control the speed of your device. If it’s light, your machine will perform fast, but use less power. Larger armature bars give you more force when using tattoo needles, but decrease its speed. By aligning it correctly, your machine’s performance increases.
Through electromagnetism, the armature bar attracts to the electric current running through magnetized coils. The attached springs also dictate the cycle that the machine runs on.

Ways to tune your coil tattoo machine
The theory behind tuning your coil machine is to get the machine running as smooth as possible. The less resonance the easier procedure will certainly be. If you want a smooth straight line then the machine needs to be in tune.
When tuning a coil tattoo machine, many factors come into play. Your grommet on the armature nipple needs to be in good shape and also your o ring on the front spring also needs to be in good condition. One more thing not everybody looks at is the quality of the contact screw. If it’s unclean or has carbon accumulation it will not obtain a good smooth connection.
Contact screws can be made from brass, steel, copper, and silver. Copper is fair, stainless and brass will certainly work, but in my personal point of view silver is the better choice. Brass and steel are a really hard steel and they also spark a little. Over time they will burn a hole right through the tip of a front spring. If the coil tattoo machine is out of tune it will burn a hole much faster. Silver is a softer metal so front spring times will last a much longer long time.
Actions for Tuning
Since you know what parts you should work with for tuning a tattoo machine, you can now start adjusting your coil machine. After taking it apart, you should consider following these actions when tweaking your tattoo machine.
Identify the Gap
Prior to reconfiguring your machine, you should identify spaces between the front spring and contact screw tip. The armature bar will fill this area, so press it down to reveal the gap. For liners, the space’s width should fit a dime. For shaders, the width should fit a nickel. If the gap mores than the coin width, it will not work and ought to be adjusted until it does.
Adjusting the Contact Screw
When you identify the gap between the front spring and contact screw, you should loosen the tattoo machine’s thumb screw to adjust the contact screw. If you’re switching from shader to liner or vice versa, screw the contact screw to the desired width prior to tightening up the thumbscrew.
Attach Your Coils
Before examining out the productivity of your tattoo machine, ensure that you properly secure the attached coils on your device to guarantee a steady current when working. They ought to be secure enough to fit inside the armature bar.
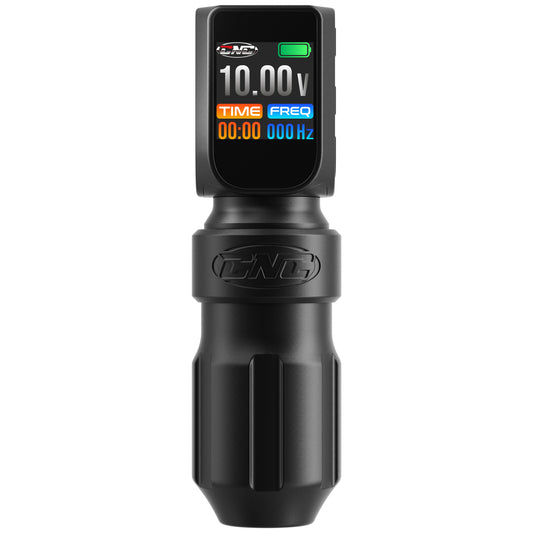
Powering Your Machine
Generally, a tattoo machine should use 7.5 to 8.5 volts to produce line work on a tattoo. When working with shading, a tattoo machine should use 8 to 10 volts. Tattoo artists use these recommended settings to keep their practice safe and convenient for themselves and their clients.